


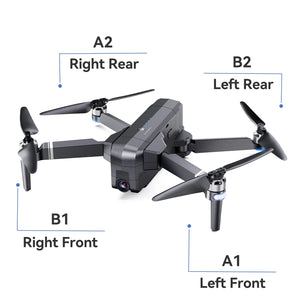
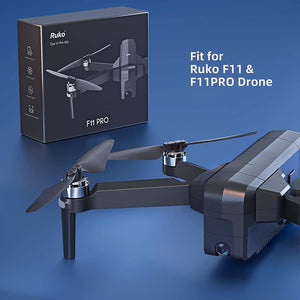
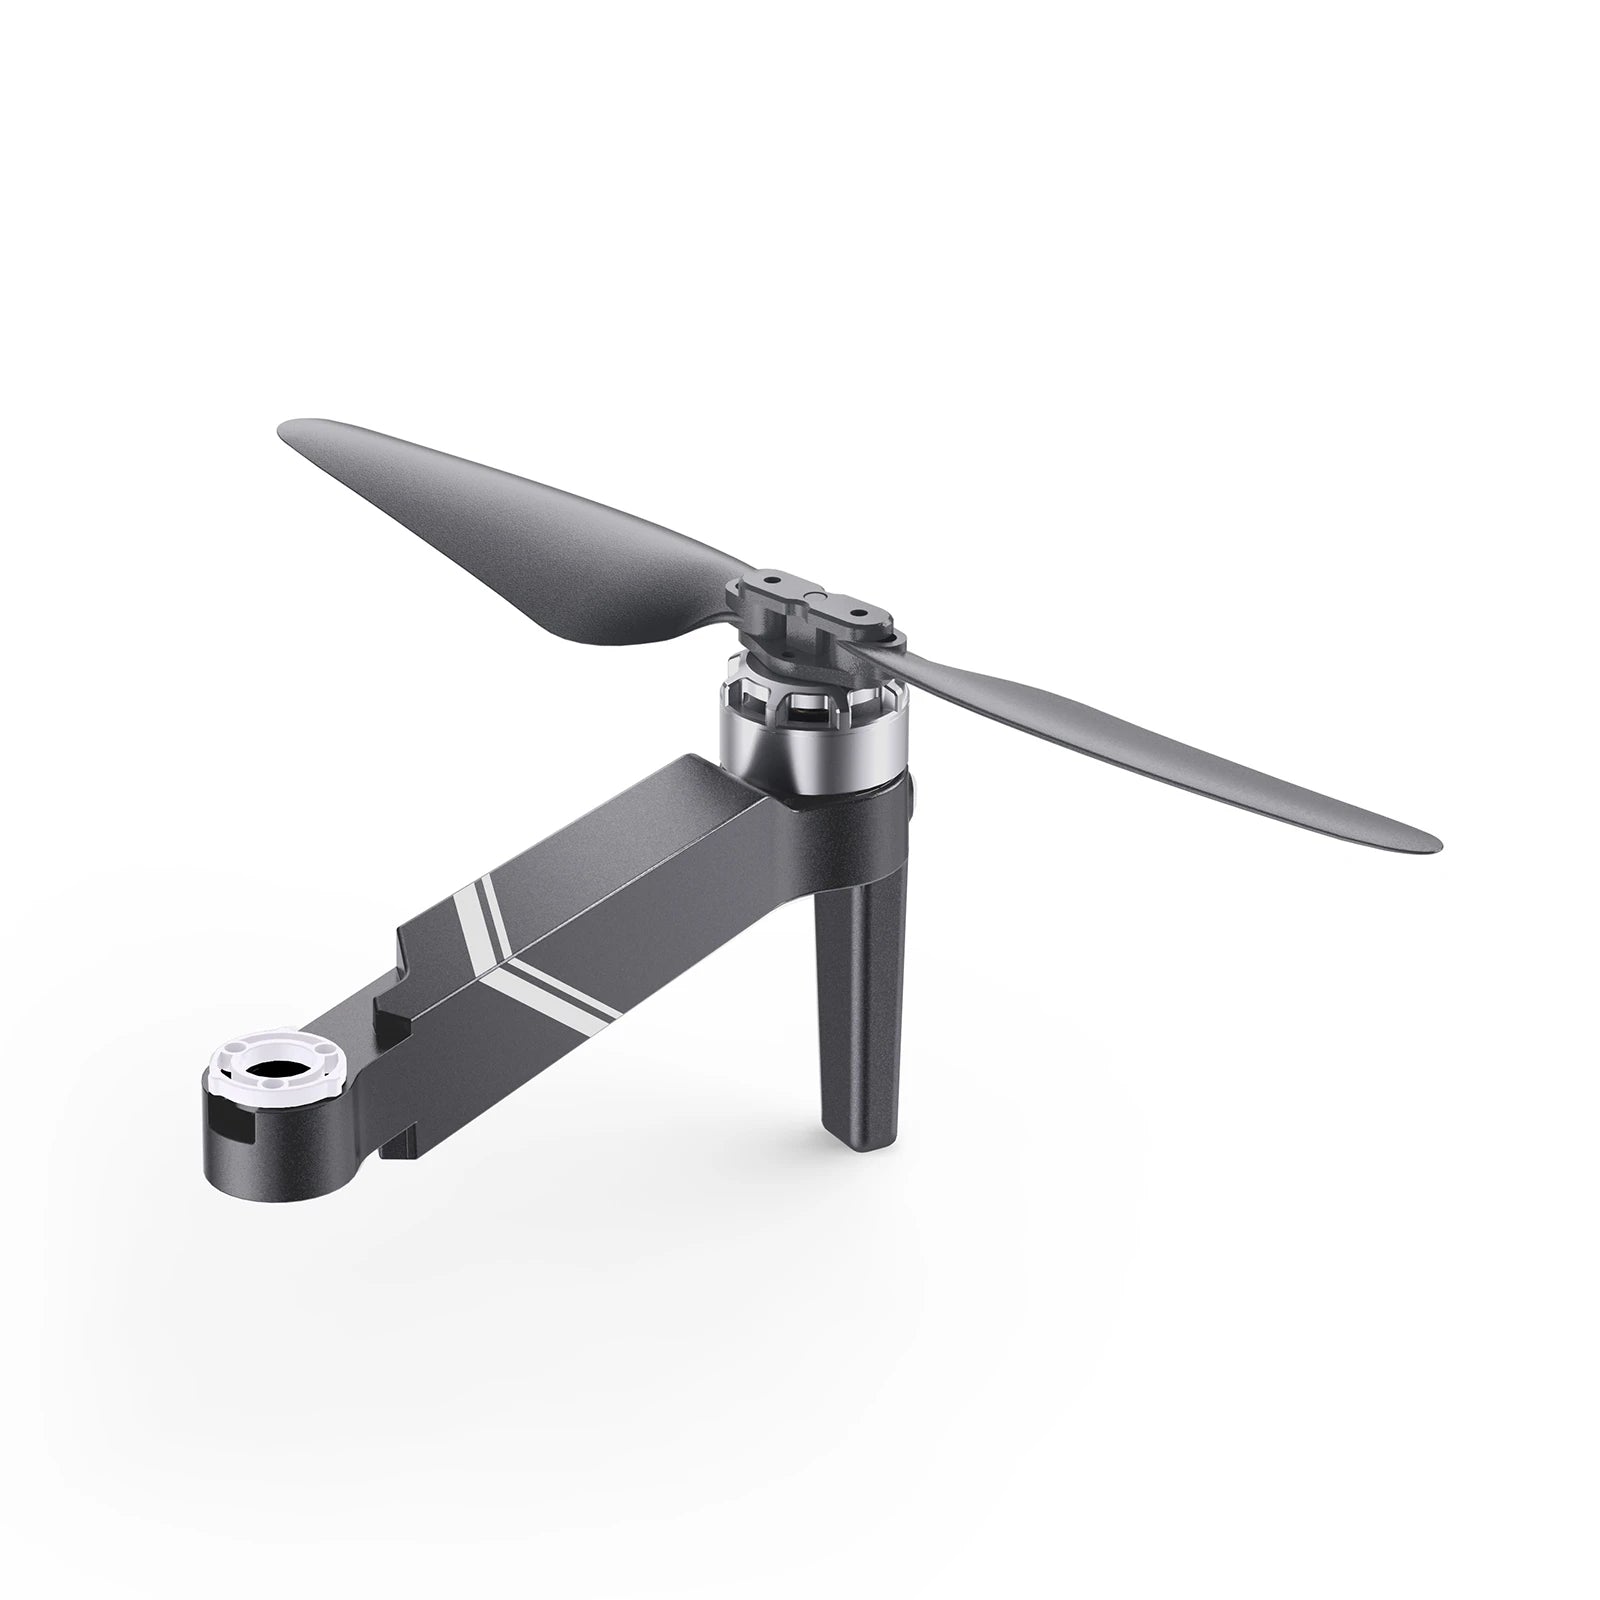
Ruko F11 & F11PRO Aircraft Arm Kit
Code copied successfully
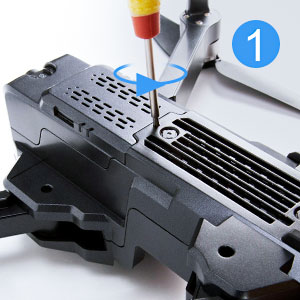
Step1
Loosen the screw on the bottom of the camera.
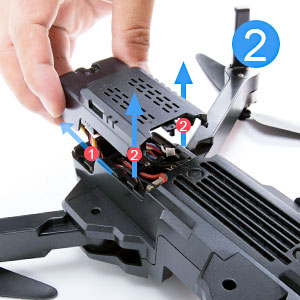
Step2
Press the front of camera and pull it out carefully.
(Note: Do not pull it with too much force.)
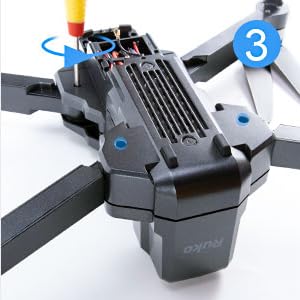
Step3
Loosen the 4 screws of the drone arms.
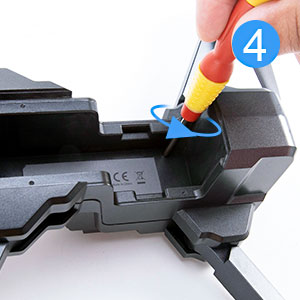
Step4
Press the buttons on battery and take the battery out. Then loosen the screws in it.
Step5
Disassemble the chassis carefully.
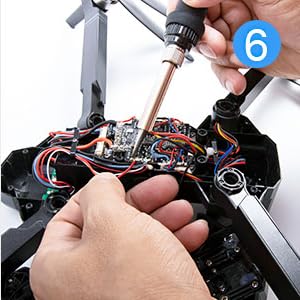
Step6
se soldering gun kit to disconnect 3 wires of the arm and then connect the new wires and cables to the original location.
(Note: Please mark the location of each wires.)

Step7
Reassemble the arms and chassis.
(Note: Let the wire of the right front arm leak out to connecting with the camera.)

Step8
Install all the screws back.
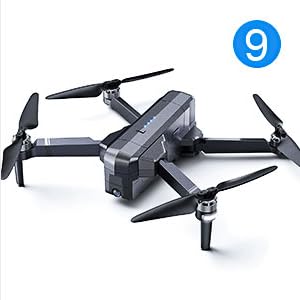
Step9
The installation is finished.
Product information
Package Dimensions
6 x 3 x 1 inches
Item Weight
1.58 ounces
Manufacturer
Ruko