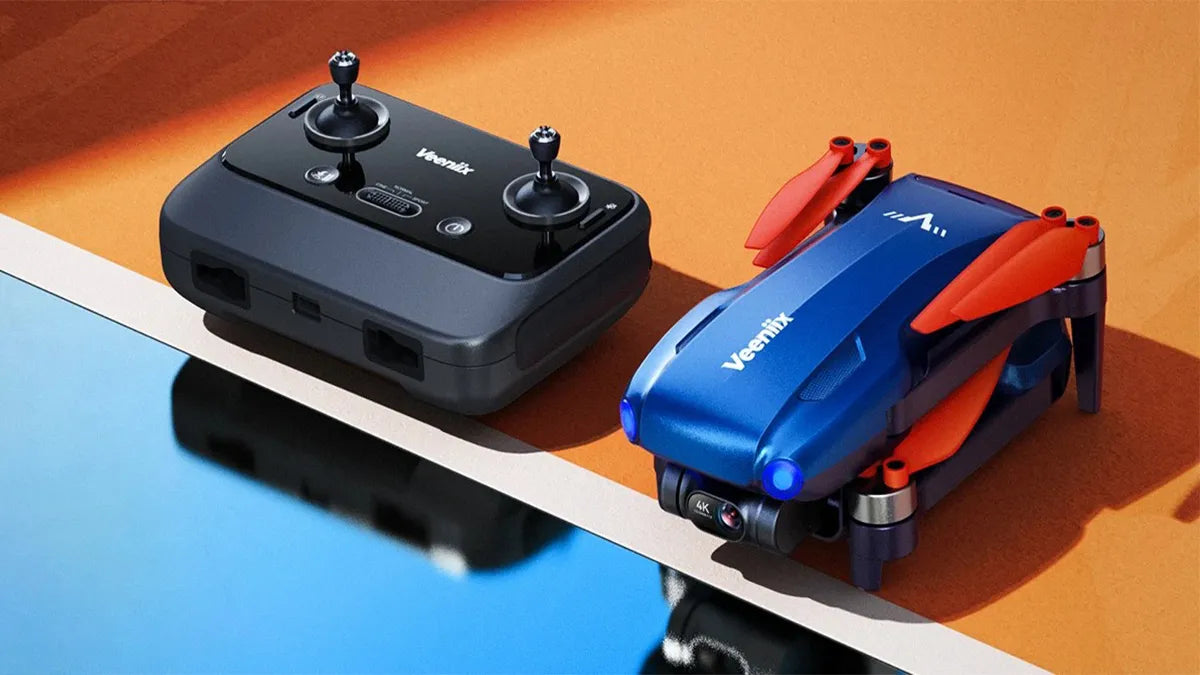
Thanks to drones, we now have a new perspective on the world. Ruko drones offer a wide range of benefits, from exploring charming nature to helping us learn new skills and develop hobbies.However, some drone pilots, especially drone beginners, may run into challenges such as pairing failure between the drone and the remote controller.Therefore, this blog will highlight the most common causes of the pairing issue.
Correct drone pairing steps:
1. Turn on the power of the drone and the remote control
Power on the drone first, followed by the remote controller. Then the drone and the remote controller will initiate the automatic pairing process. You will see the yellow light on the drone flashing, hear the remote controller beeping,and "CONNECTING" will be shown on your phone screen, signifying that the pairing process is in progress.
2. Following the pairing of the drone and remote controller
The GPS signal cannot not be detected indoors, the drone’s light will turn red and remain on, indicating a lack of GPS connection. When the drone is outdoors and able to search for the GPS signal, the light will turn green and stay on, signaling the GPS connection has been successfully established. At this point, the remote controller will emit a long beep, and "CONNECTING" will no longer be displayed on the screen, indicating that the drone and the remote control are successfully paired and ready to take off.
Exploring the possible reasons behind the pairing failure of the drone and the remote controller:
1. Initial use or after long periods of non-use
For the first-time use or after the drone hasn’t been used for an extended period,the pairing process may take longer than expected.As the drone needs to establish a connection with the satellite and the remote control for the first time, the process may be slower than usual. In such cases, wait patiently for a while to ensure that the drone can complete the pairing process with the remote controller.
2. Failure of pairing due to damage to the drone
If the drone was connecting fine earlier but now fails to pair,the first step is to check whether the drone has collided or fallen. Damage to the gimbal or other hardware components can potentially interfere with the communication module, leading to pairing issues.Inspect the drone for any visible damage, particularly the gimbal and battery connection parts, to ensure everything is secure and intact.
3. SD card issue
If the drone has an SD card installed, remove the card and reattempt pairing the drone with the remote controller. Some incompatible SD cards may cause a short circuit or current interference in the communication module, affecting the successful pairing.
4. Normal image transmission but pairing issue persists
If the pairing problem persists while image transmission works correctly after connecting the remote control and the mobile phone via the connecting cable,the issue likely lies in the drone’s communication line.
5. Check the status of the WiFi module indicator light
The WiFi module indicator light at the bottom of the drone can provide insights into the communication status of the drone. If the blue light of the WiFi module is always on, it means that the WiFi module is working properly and the communication connection is intact. If the blue light flashes or goes out, it may mean that there is a defect in the WiFi module that should be examined or repaired.
Summary
Following the steps outlined above can help resolve the pairing issue between the drone and the remote controller. If these solutions do not work,please consider reaching out to our exceptional 7/24 Ruko customer service to guarantee your smooth flight experience.


